
You can pull tons of Docker images from the official Docker registry or create your own customized images by using these images as base images. You get the flexibility to specify instructions inside a Dockerfile to add new image layers on top of the images available in the official Docker registry. If you have been working with Docker for a considerable amount of time now, you might have lots of images in your local machine, and handling a huge number of images using the command line is quite difficult. Therefore, it’s important to understand the basic utilities that Docker provides to help you manage Docker images easily. One such utility is the docker images command. You can use this command to list all the Docker images on your local machine. Also, the docker images command accepts several options to modify the listing results based on certain parameters. In this guide, we will discuss the docker images command and the different options that you can use with it. Also, we will share some practical examples to help you understand the operation of the docker images command better. So, without further ado, let's start discussing the docker images command.
Docker Images Command
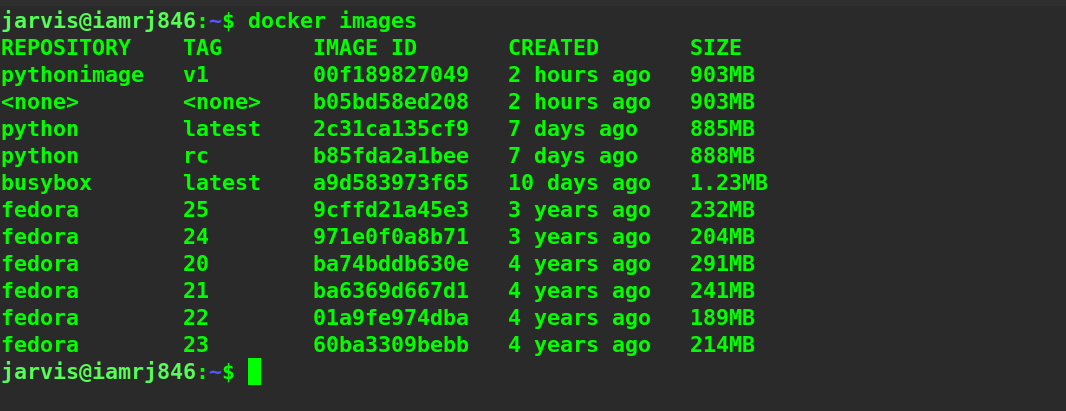
The docker images command by default shows all the top-level images that exist on your local machine along with details such as associated repository name, the tag, Image ID, date of creation of the image, and the size of the image. The syntax of the docker images command is as follows:
$ docker images [OPTIONS] [REPOSITORY[:TAG]]
You can use the following command to list Docker images on your local machine:
$ docker images
Output:
Docker images have several intermediate layers associated with them. These layers allow us to reuse images, leverage build-cache, decrease the usage of disks, and speed up the docker build process. However, when we use the docker images command to simply list the images, the details of the intermediate layers are not shown. There are multiple options that you can use with the docker images command to get additional details of images, and they are as follows:
| Name and Shorthand Notation | Description of the Options |
| --all , -a | It allows us to show all images including intermediate images. |
| --digests | It displays image digests along with other options. |
| --filter , -f | You can filter output based on certain conditions. |
| --format | You can also pretty-print the image details leveraging a Go template |
| --no-trunc | By default, the output such as Image IDs is truncated. You can use it to avoid truncating the output. |
| --quiet , -q | This will display on the ID of the images. |
Listing the Images Using the Name and Tag
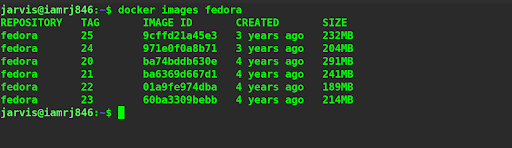
We can use the docker images command to list the images with a particular name. This will list all the tagged images that have the specified name.
$ docker images fedora
Output:
We can also list the details of an image with a particular tag.
$ docker images fedora:23
Output:

Listing All the Docker Images
We can use the --all option to list all the Docker images including the intermediate image layers as well that are suppressed by default. Let’s see how to use the Docker image command with --all option.
$ docker images --all
Output:
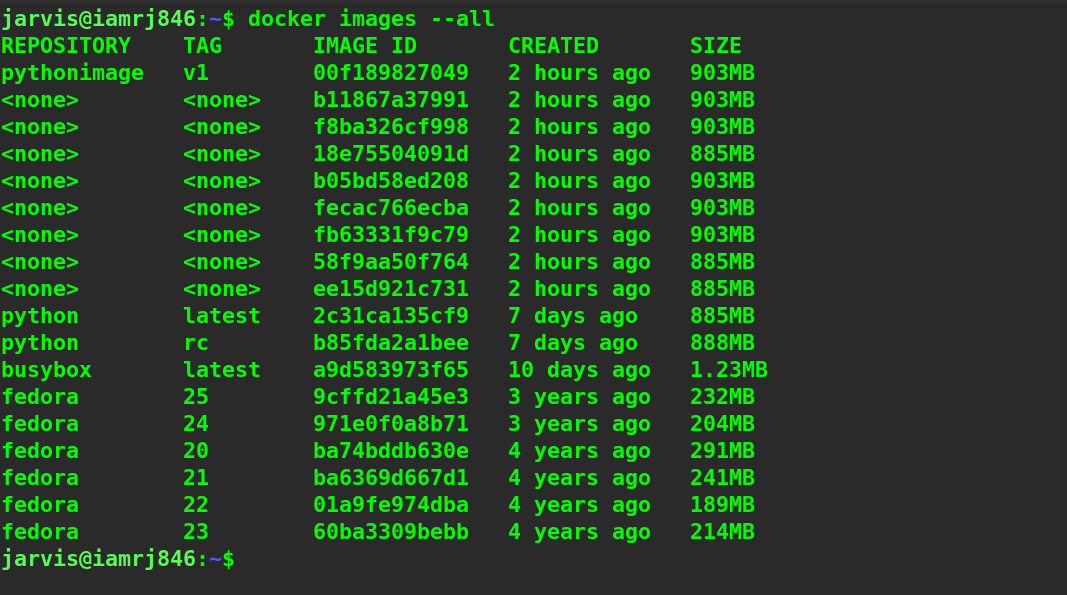
You can see that the information related to the intermediate image layers of customized images is displayed as well.
Listing Images without Truncating
By default, parameters such as Image Ids are truncated when we execute the docker images command. We can use the --no-trunc option to avoid truncating the output. Let’s see how to use the docker images command with the --no-trunc option.
$ docker images --no-trunc
Output:
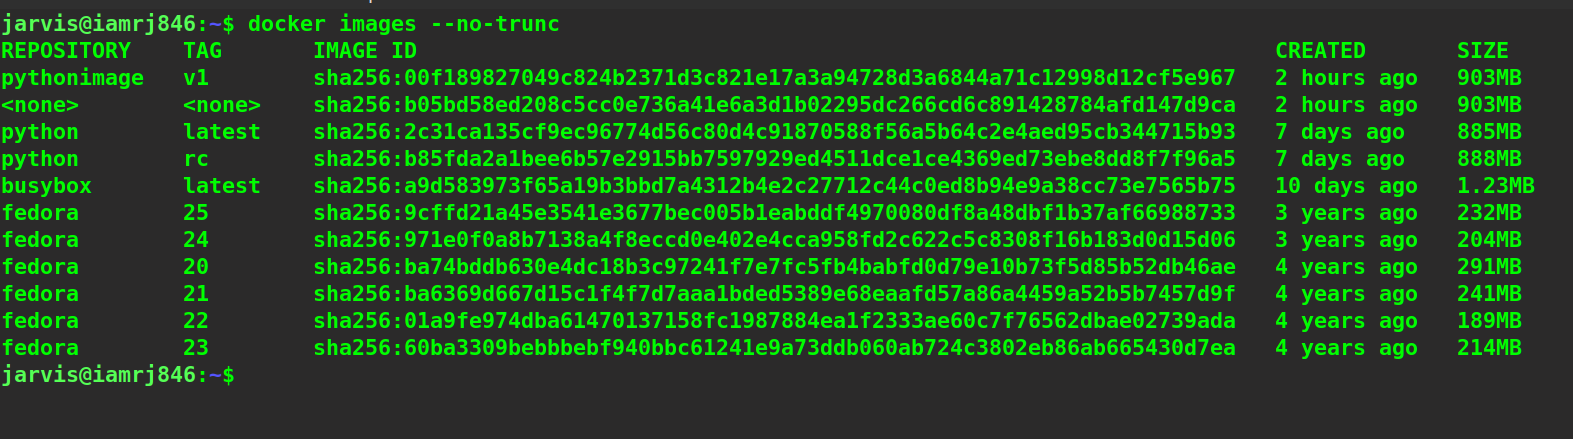
We can see that it has displayed the entire Image Id for all the images.
Listing only the Image Ids
We can use the --quiet option to list only the Image Ids of all the Docker images in our local machine. Here's how we can use this option with the docker images command:
$ docker images --quiet
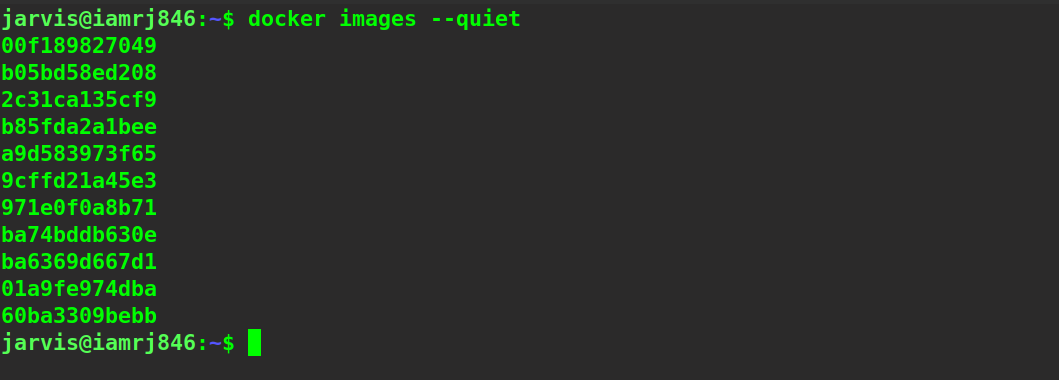
You can see that it has returned only the image IDs.
Using the Filter option
We can filter the output according to some conditions that we provide using the filter option. It takes the conditions as key-value pairs . The following are the available keys:
- “ reference ”: We can use this key to isolate images with specific names or tags.
- “ before ”: It can be used to filter out images that were created before a particular image was created.
- “ since ”: It can be used to filter out images that have been created since a particular image was created.
- “ label ”: We can use it to filter out those images that have used label instructions for their creation.
- “ dangling ”: It can be used to filter images that are not used anymore.
Let’s try to filter images whose names start with the letters “py..” by using the "reference" key.
$ docker images --filter “reference=py*”
Output:
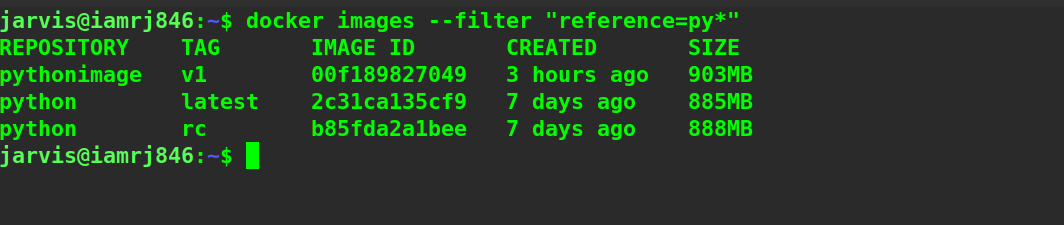
You can see that it has returned the details of all the images whose names start with “py..”. Let’s list all the dangling images.
$ docker images --filter dangling=true
Output:

Dangling images or intermediary images usually have none as image repository names and tags. They are not used anymore and can be removed. Let’s use the "before" key along with the filter option to print all images that were created before the creation of a particular image.
$ docker images --filter “before=busybox:latest”
Output:
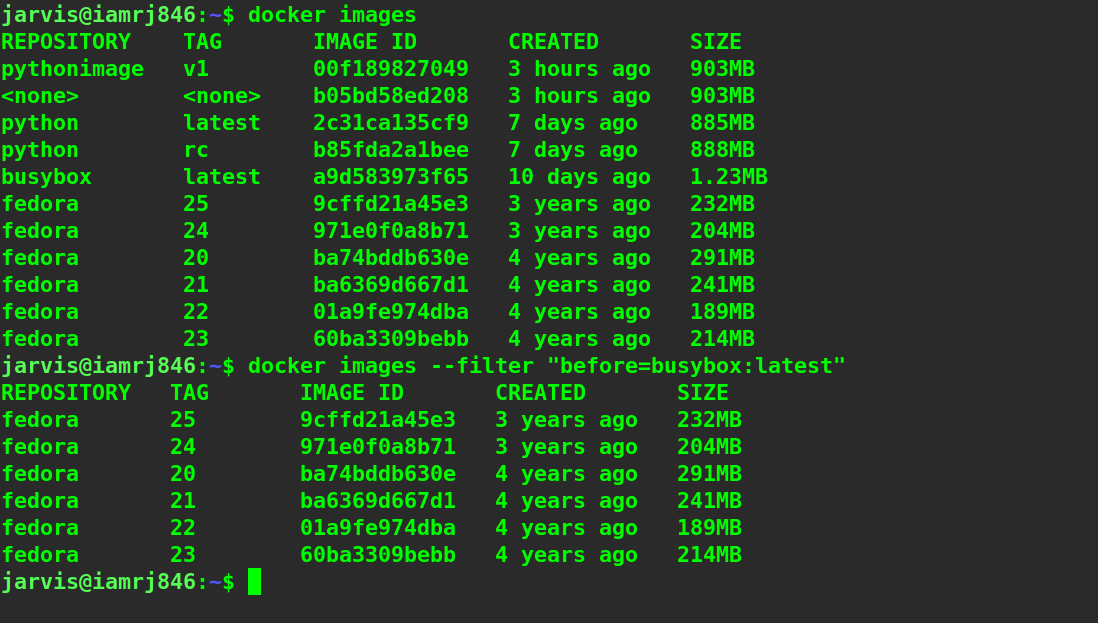
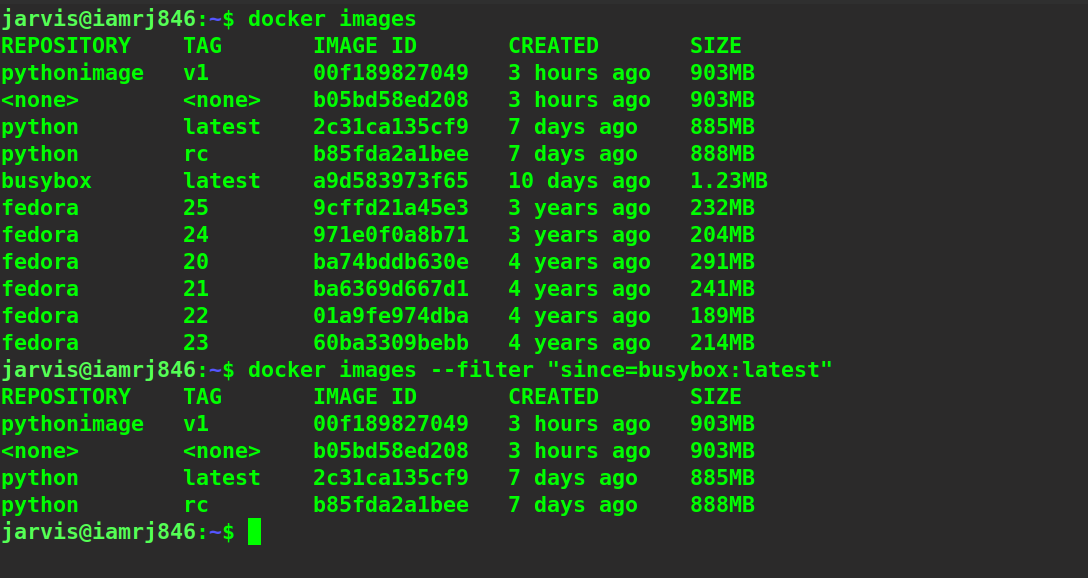
You can see that all the images that were created before the busybox:latest image have been displayed. Similarly, we can use the "since" filter key to list all the images that were created after a particular image was created.
$ docker images --filter “since=busybox:latest”
Output:
Listing Images along with Digests
We can use the --digests option to list the digests of all the images along with other details.
$ docker images --digests
Output:
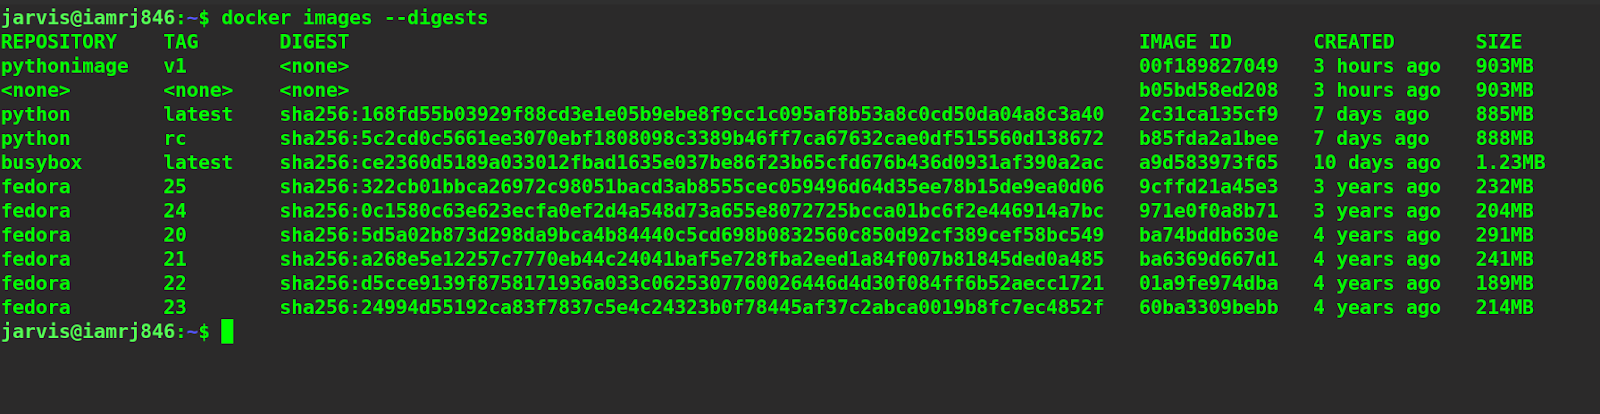
You can see that the digests have also been displayed.
Formatting the Output
We can use the --format option to format the output using a Go template. A Go template allows us to use a set of variables that represent different columns inside double curly braces. The variables or placeholders that we can use along with the docker images command are listed in the table below:
| Placeholder | Description |
| .ID | Image ID |
| .Repository | Image repo name |
| .Tag | Image tag |
| .Size | Image Size |
| .CreatedSince | Time passed after the creation of an image |
| .CreatedAt | Date of creation |
| .Digest | Image digests |
Let’s use the --format option to print Image IDs along with the Image Sizes in a particular format.
$ docker images --format “The Image with ID {{.ID}} has a size {{.Size}}”
Output:
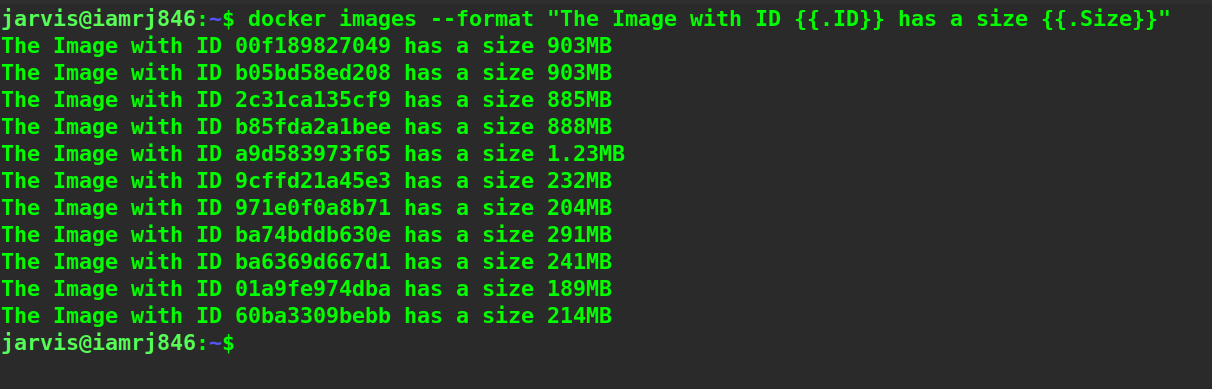
Similarly, we can use other placeholders to format our output.
Wrapping it Up
In this guide, we discussed how we can leverage the docker images command to list and manage all the existing images in our local machine. We also discussed several options such as quiet, all, format, filter, digests, no-trunc, etc. that can be used with the docker images command to modify the output. We hope that this guide provided you with an in-depth insight on the docker images command that can help you to leverage this command to manage Docker images effectively. Happy learning!
People are also reading:
- How to tag Docker images?
- How to pull Docker images?
- Docker Containers vs Virtual Machines
- Docker Images vs Containers
- Lifecycle of Docker images
- Background Remover Software
- Docker Interview Questions and Answers
- What is Docker Hub?
- What is Docker Networking?
- Docker Container Commands
- What is Docker Swarm?