Introduction
Finding a file in Linux is a frequently used operation for Linux users. You can do it either using a GUI-based file manager or through the traditional command-line. Using a file manager provides only a little flexibility when it comes to searching and handling files. For example, you won’t use regular expressions to find files based on a pattern in their names.
Moreover, having a strong grip on the Linux command-line always comes in handy, especially when dealing with files. The Linux Command-Line provides several tools to search for files in the file system and directories. One such command is the find command which can be used to search for files and directories in Linux based on a given search pattern provided by the user.
We can use the find command to filter our search based on extensions, permissions, modified dates, patterns in their names, ownership details, sizes, etc. We can also combine the output of the find command and other commands such as sed or grep to customize our search to a greater extent.
In this detailed article, we will try to walk you through all the aspects and use-cases of the find command in Linux. Before you move ahead further, make sure that you can access a Linux Machine, a command-shell, and sudo privileges. Working as a root user is always risky, especially when dealing with files, because you might accidentally end up deleting configuration files that will make a complete mess of your system. Hence, please ensure that you execute all the mentioned commands very carefully.
Syntax of the Find Command
The syntax that the Find command follows in Linux is:
$ find [options] [path...] [expression]
In the above-mentioned syntax, the attribute called options can be used to define how you can control the behavior of symbolic links, debugging, etc. The path attribute can be used to specify the starting path of the directory where you want your search to begin. The expression attribute tells the command to find a match based on the regular expression or pattern or globs provided along with the expression.
Also, please note that, if you want to invoke the find command on a directory, you must have read permissions on that directory. As a root or admin user, you have read permissions in almost all the directories in your system.
A more detailed syntax of the find command in Linux can be:
$ find [-H] [-L] [-P] [-D debugging options] [-Olevel] [path...] [expression]
Here, the H, L, and P options are used to manage the behavior of the symbolic links.
Basic Example
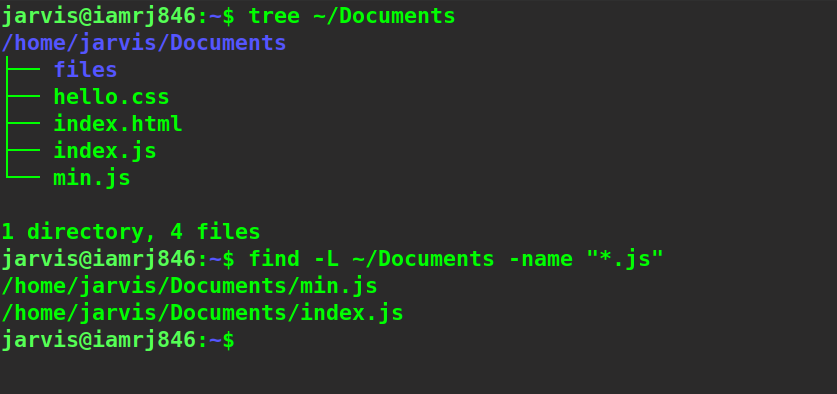
Let’s use the command below to search for all the files along with symbolic links that have a javascript extension.
$ find -L ~/Documents -name "*.js"
Here, we have used the
-L
option to instruct the find command to check for symbolic links as well. We have then specified the path of the search directory. We have used the
name
option to specify the pattern to be looked out for.
Search for files by Name
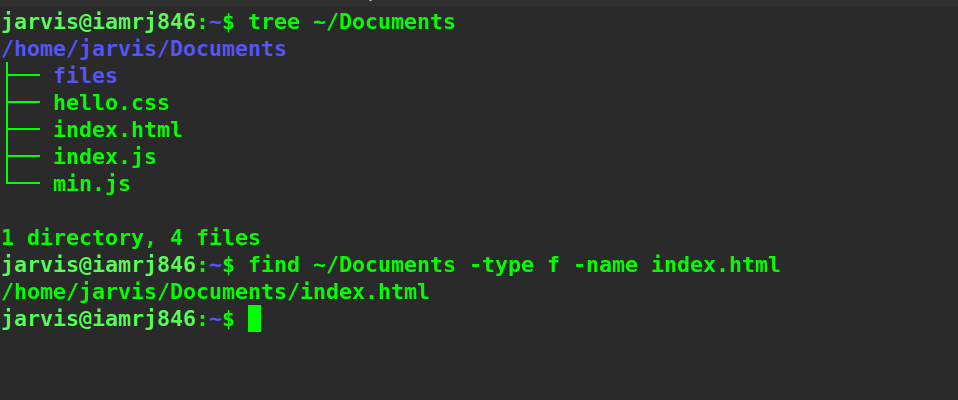
Searching for files by name is the most frequent usage of the find command. We generally want to search for files by their names. To do so, we can use the -name option to provide the name of the file that we want to search.
$ find ~/Documents -type f -name index.html
Here, we have also used the
-type
option to define the type of data that we want to search for. Since we are looking for a file, we have used the
f
value.
We can also use the -iname option to search for files irrespective of their cases (case-insensitive).
$ find ~/Documents -type f -iname index.html
Searching for Files by Extension
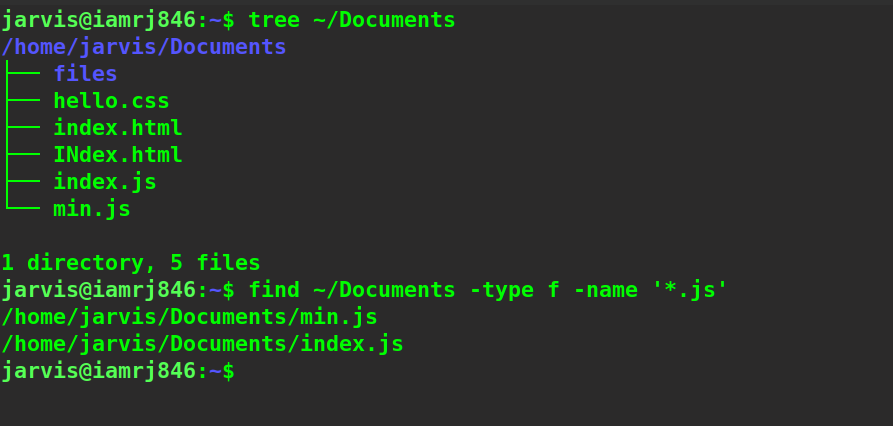
We can use the -name option to modify the search to find files by their extensions. We can use a simplistic regex or pattern or glob to filter out all files matching a particular extension. Please note that you have to use the quotes or a backslash to escape * character.
$ find ~/Documents -type f -name '*.js'
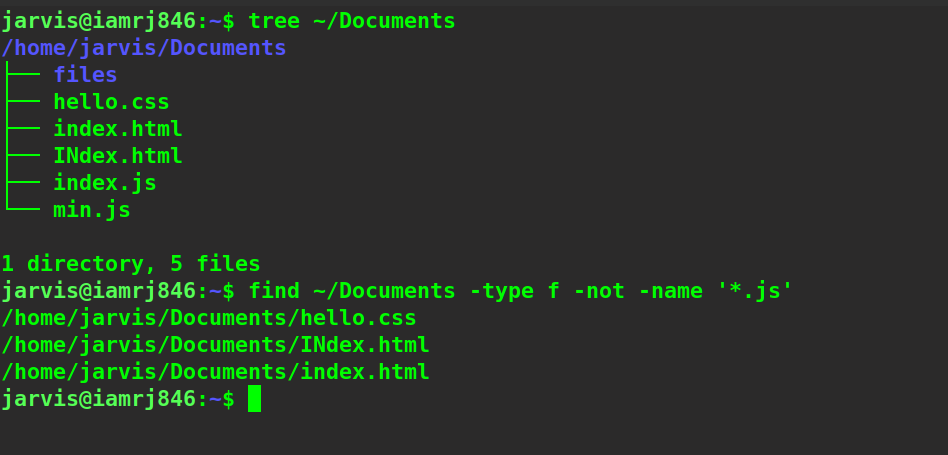
If we want to display a list of all the files that don’t have the extension that we mentioned as the regular expression, we can use the -not option.
$ find ~/Documents -type f -not -name '*.js'
Searching for Files by Type
At times, we might get one to search for specific types of files. Please note that, in Linux, everything has been categorized as a file (even folders). The specific file types can be searched using the following options along with the -type option.
- f: Stands for a normal file
- d: Stands for the directory
- l: Stands for a symbolic link
- c: Stands for character devices
- b: Defines all the block devices
- p: Stands for named pipe (FIFO)
- s: Filters all the sockets
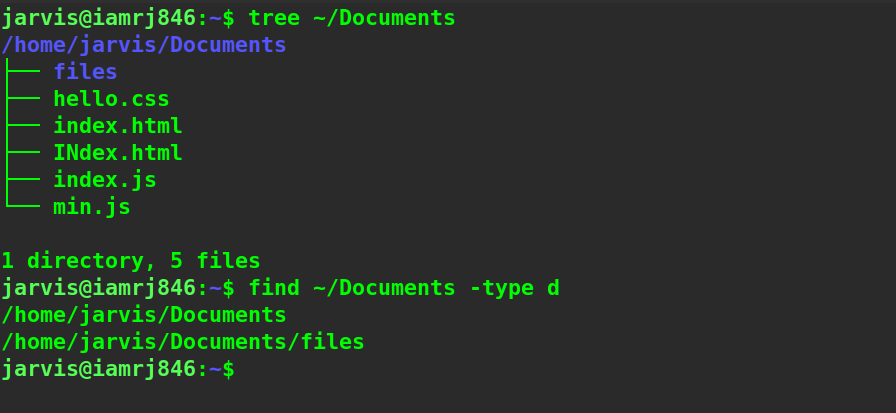
For instance, if we want to find all the directories in a path, we can use:
$ find ~/Documents -type d
Search for Files by Size
We can use the -size option to find or search for files by their sizes. We can utilize the following flags:
- B: to search for all 512-byte blocks (default)
- c: to specify bytes units
- w: to specify the two-byte words units
- k: to define size in Kilobytes
- M: to mention size in Megabytes
- G: Gigabytes
For instance, if you want to search for files or directories with a size exactly equal to 4KB, you can use:
$ find ~/Documents/ -size 4k
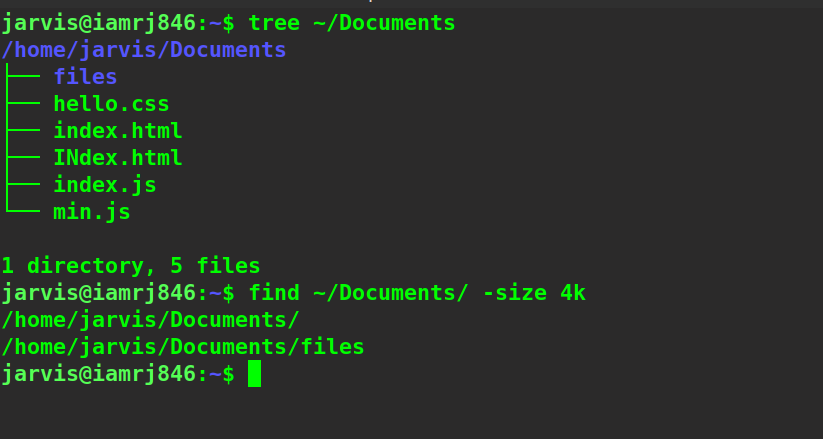
To search for files less than a particular size, just append a - (minus) sign before the value and to search for files greater than a particular size, append + (plus) sign before the size.
Search for Files by Date of Modification
You can also search for files based on their last modified date. For example, if you want to find all text files updated in the last five days, you can use a - (minus) sign along with the -mtime option.
$ find -name "*.txt" -mtime 5

To check for files that were modified 10 or more days ago, you can use the + sign along with the -daystart option.
Wrapping Up!
To conclude, in this article, we skimmed through the find command in Linux that can be used to look out for files and directories based on certain patterns and other filter options such as by name, type, size, date, extension, etc. We explained the fundamentals of the command along with the syntax. We then saw some examples and use-cases where we can use this command along with several options to filter our search. We certainly hope that with this detailed and comprehensive guide, you now have hands-on experience working with the find command in Linux.
People are also reading:


