A Docker Compose file is a YAML file that allows us to define the services that would make up our entire application stack. Using simple schemas, we can define complex application requirements using a docker-compose.yml file. We will try to create a simple application which uses Flask and Redis images to create a Flask application that records the number of website visits and store it in a Redis backend. In this tutorial, you will know How to create a Docker Compose file? Before that, let’s check out some of the basic clauses inside a docker-compose file.
Docker Compose File Structure
The basic structure of a docker-compose file is -
version: 'X'
services:
  web:
    build: <location of the dockerfile>
    ports:
     - <ports to be published>
    volumes:
     - "/usercode/:/code"
    links:
    -
  redis:
    image: redis
    environment:
    - <specify the environment variables>
Let’s discuss the important clauses mentioned in the above docker-compose.yml file.
- version: A version X denotes which version of Docker Compose we are using. For example, if we mention 3, then it specified that version 3.x is being used where x is the latest release.
- services: It is used to define the containers that we need to create for the entire application.
- web/redis: These are the names of the services which will be used to create the containers.
- build: It defines the path of the Dockerfile and a dot (.) represents that the docker-compose.yml file is located in the current directory.
- ports: This is used to define the port mappings for the container.
- volumes: It’s similar to -v option to mount directories as volumes. We need to specify the paths of all the volumes that we need to mount. In the above example, we have mounted the usercode directory in our host machine to the code directory in our container.
- links: This allows us to link services with each other.
- image: In case, we want to run a service using a prebuilt image instead of a Dockerfile, we can specify the image name here.
- environment: This allows us to set the environment variables inside the particular Docker container.
How to Create a Docker Compose Application
As discussed, we will try to create a simple Python application using Flask which will maintain a hit counter (number of web visits) inside a Redis database. We won’t need to install Redis, Python, or Flask, Docker has images for all of them. This example will surely help you understand the basics of docker-compose file and Docker Compose commands.
Step 1: Setting up the Flask Application
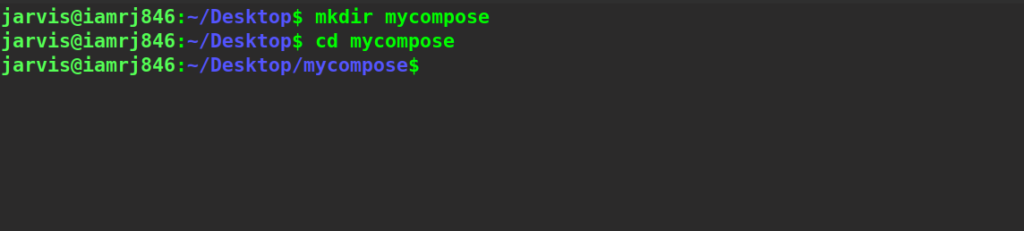
Let’s create a directory for our application and move into that directory.
$ mkdir mycompose
$ cd mycompose
Now, let’s create our python application inside a file called app.py in the same directory.
import redis
import time
from flask import Flask
app = Flask(__name__)
cache = redis.Redis(host='redis', port=6379)

def func():
    num_retries = 5
    while True:
        try:
            return cache.incr('hits')
         except redis.exceptions.ConnectionError as exc:
             if num_retries == 0:
                 raise exc
             num_retries -= 1
             time.sleep(0.5)

@app.route('/')
def driver():
count = func()
return 'Hits = {}.\n'.format(count)
Here, we have created a simple function that calculates the number of hits and displays it in a simple Flask web application. Here, redis is the name of the host of the redis container. And the default port of redis is 6379. Also, we will create another file called requirements.txt which will contain a list of all the packages that we need to install. The contents of the file for our example will be - flask redis
Step 2: Creating the Dockerfile
Let’s create a Dockerfile for our Flask application. We will create a file called Dockerfile (without any extension) in the same directory.
FROM python:3.7-alpine
WORKDIR /code
ENV FLASK_APP=app.py
ENV FLASK_RUN_HOST=0.0.0.0
RUN apk add --no-cache gcc musl-dev linux-headers
COPY requirements.txt requirements.txt
RUN pip install -r requirements.txt
EXPOSE 5000
COPY . .
CMD ["flask", "run"]
Let’s go through all the instructions one by one.
- We have used the Python image from Dockerhub with a tag called 3.7-alpine.
- Next, we have used the WORKDIR instruction to set the default working directory for all the subsequent instructions.
- Next, we have used the ENV instruction to set the environment variables used by the flask command.
- We have used the RUN instruction to install required dependencies such as GCC, etc.
- Next, we have copied the requirements file using the COPY instruction and then, using the RUN instruction along with the pip command, we have installed all the requirements.
- Using the EXPOSE instructions, we have exposed port 5000 of the container.
- Finally, we have copied the entire build context and specified the CMD instruction to define the entry command.
Step 3: Creating the docker-compose file
Now, we create the docker-compose.yml file and include the following contents.
version: "3.9"
services:
  web:
    build: .
    ports:
      - "5000:5000"
  redis:
    image: "redis:alpine"
We have defined two services called web and redis. The web service builds the container using the image defined by the Dockerfile we created just above and the redis service uses a prebuilt redis image from Dockerhub.
Step 4: Building the Compose Application
1. Inside the same directory, we will execute the docker-compose up command, which will help us to start the application.
$ docker-compose up
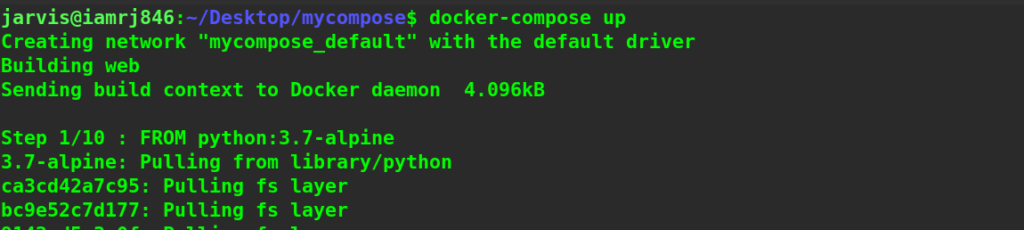
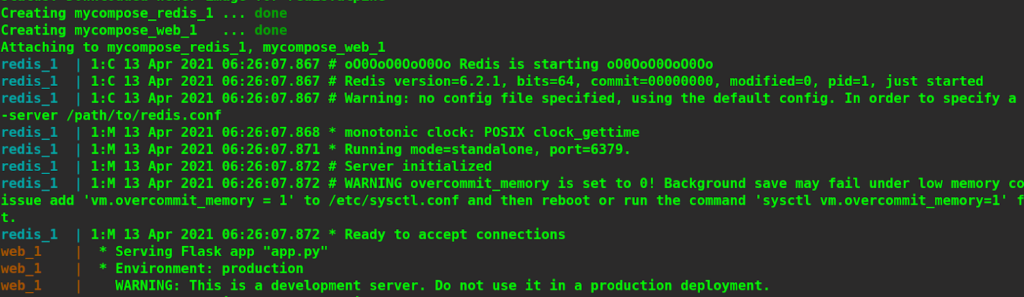
The Docker Compose will pull the Redis image and builds the web image from the Dockerfile and then starts the services. It will statically copy the code into the image during the image build process.
2. Next, we navigate to http://localhost:5000/ to check whether the application is running or not. We will see that the application is running actively. If there is an error, navigate to
http://127.0.0.1:5000
.
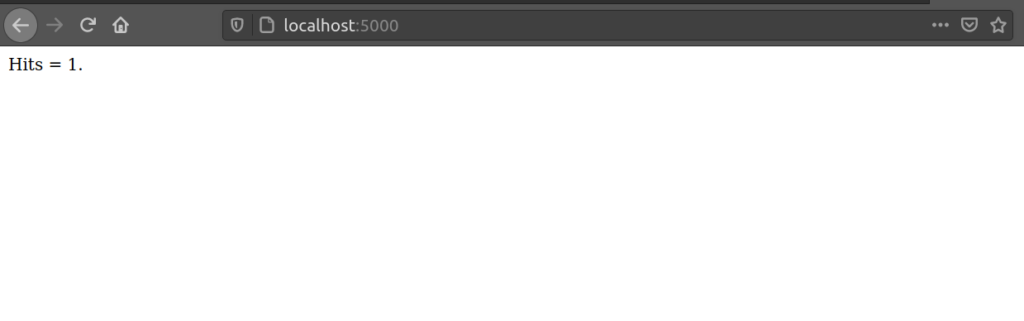 Let’s refresh the page.
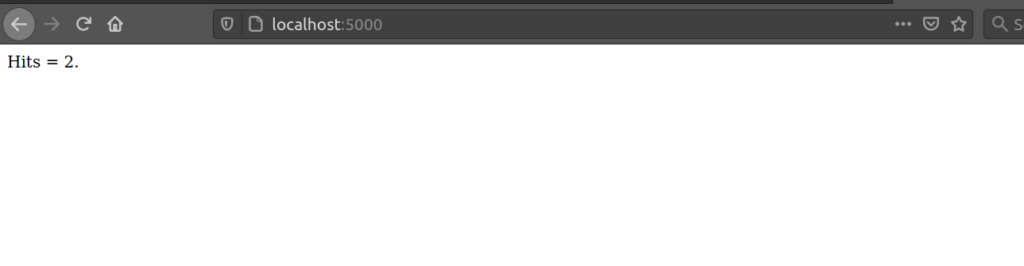
We can see that the count has been increased.
Wrapping Up!
To conclude, in this article, we discussed the structure of a docker-compose.yml file and discussed some important clauses that can be used to define our services, Also How to create a Docker Compose file? We demonstrated the same by building a simple Python Flask application with a Redis backend using Docker Compose. We hope that this will help you understand the basics of the Docker Compose file as well as help you get a hands-on experience with Docker Compose. Happy Learning!
People are also reading:
- What is Docker Networking?
- What is Docker Swarm?
- What is Docker Compose?
- What is Docker Container Linking?
- What is Docker Logging?
- Difference between Docker Images and Container
- Docker Interview Questions
- How to Use a Dockerfile to Build Docker Images?
- How to list Docker Images?
- How to Search Docker Images using CLI?